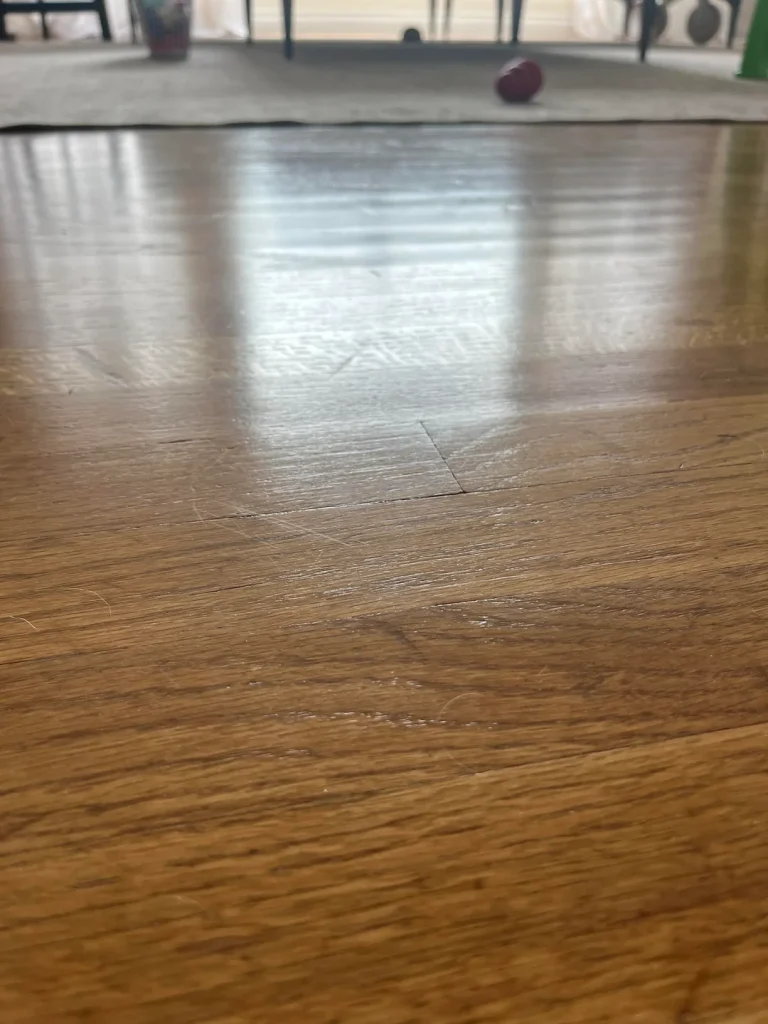
Staining Maple Hardwood Floors
Staining maple hardwood floors can be a challenging project according to most flooring experts. Maple flooring is a favored choice among homeowners because of its unique and natural beauty. However, its tightly packed grain can lead to uneven stain application, resulting in a blotchy finish if not done correctly.
Why Choose Maple in the First Place?
Maple wood is valued for its smooth and delicate texture, which complement both classic and modern design styles. Its regular use in high-traffic places, like sports facilities and bowling alleys, where it withstands dents and scratches and cupping, is a result of its endurance. Particularly for modern houses, maple’s resilient nature and understated yet amazing appearance make it a timeless classic. It’s also less expensive than exotic hardwoods like cherry and teak, which makes it a more environmentally friendly choice.
However, there are certain difficulties with maple. Even experienced flooring contractors may become frustrated by the inconsistent stain absorption caused by its tight grain structure, which can result in a splotchy finish. Understanding these difficulties is crucial to getting an eye-catching finish on your maple flooring.

Importance of Preparation
Careful preparation is the initial step in the staining procedure. Start by sanding your maple floor with 120-grit sandpaper and work your way up to 220 grit, or ever finer sandpaper. This method guarantees a surface that is smooth, which improves stain adherence. Vacuum the floor after the sanding process to remove any dust or debris; this is essential for a perfect finish.
Water-Popping Technique
A useful technique for enhancing stain absorption in maple is “water-popping.” Using this method, the sanded surface is misted softly with water and let to dry overnight. This procedure lifts the grain of the wood, making it more stain-responsive. While this procedure can greatly improve stain absorption, it does not guarantee a flawless finish, so it’s essential to test the stain on a scrap piece of wood beforehand.

Pre-Stain Conditioning
It is essential to use a pre-stain conditioner when working with maple. By balancing out the wood’s absorption properties, this product lessens the possibility of blotchiness. When applying, according to the manufacturer’s directions and wait until it has completely dried before moving further. As indicated in Source 3, conditioning is particularly crucial for soft or porous woods like maple, which might demonstrate uneven stain absorption without it.

Selecting the Right Stain
When it comes to stain selection, gel stains typically produce better results than conventional liquid stains. Gel stains are easier to remove since they stay on the surface rather than fully soaking into the wood. For instance, to improve penetration in denser woods like maple, HyperTone Stains include a hybrid mix that blends water and oil. A more consistent hue can be achieved with the help of this special composition.
Application Techniques
It’s time to apply the stain after cleaning the area and making your choice. Stain should be applied using a brush, roller, or pad applicator with the grain direction facing the wood. To prevent blotchiness, apply several thin layers rather than one heavy one. Before applying the next coat, make sure that the previous one has dried in accordance with the manufacturer’s instructions.
It is important to rapidly remove any extra stain to guarantee a uniform finish. To get a uniform look, use a second rag to mix the stain after using the first to remove any excess. Following these methods might result in more consistent outcomes, which is particularly crucial when dealing with the fine texture of maple.
Testing Before Application
Use a scrap piece of maple to create a test panel before staining your entire floor. This enables you to watch how the stain reacts with the wood and modify your method as needed. Testing is necessary because the stain may seem differently on a test panel than it will on the floor.

Final Touches
It’s essential to seal your maple floor after staining in order to preserve the finish and bring out the best features. It is advised to use a polyurethane or shellac topcoat to protect the color and give a layer of defense against wear and scratches. Apply multiple thin layers for best results, softly sanding in between each application with 400-grit or finer grain sandpaper.
Buffing for a Polished Finish
After the last application of finish has fully dried, buff the surface to a glossy sheen. Use a soft, low-abrasive rubbing pad linked to a variable-speed random orbit sander to carefully buff the surface until it gets your desired level of shine.
Avoiding Common Mistakes
In staining maple there are a few typical mistakes to avoid:
- Inconsistent Sanding: Steer clear of uneven or excessive sanding as this might cause the finish to seem washboard.
- Improper Cleaning: Ensure your workspace is free of dust and debris before applying the stain.
- Choosing the Wrong Stain: Choose a stain designed for hardwood surfaces; the results will be greater on maple.
- Neglecting Humidity Control: Sustain consistent humidity levels in your surroundings to avoid problems that could impact the finished look, like as warping or shrinking.
Conclusion
Staining maple hardwood floors can be scary and challenging, but you can still get amazing results if you prepare carefully and use the appropriate procedures. Make sure to take your time, and carefully follow the suggested procedures, and don’t be afraid to get expert assistance if needed.
